Cart (0)
Close
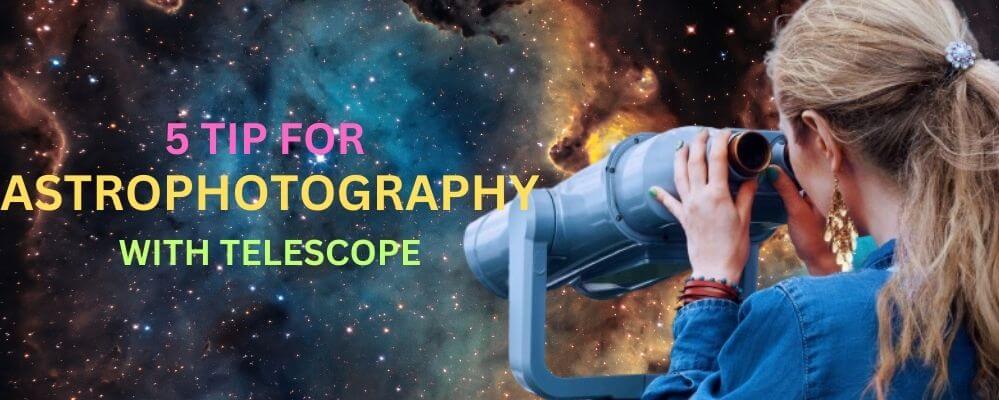
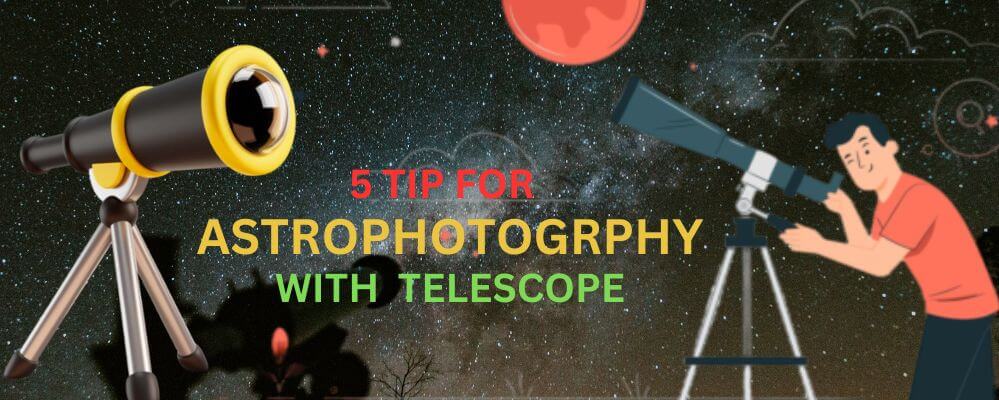
5 Tips for Astrography With Telescope
Astrophotography with your telescope is a mesmerizing journey into the depths of the universe, allowing you to capture the awe-inspiring beauty of celestial objects. Whether you’re a seasoned astrophotographer or just starting, mastering the art of astrophotography with your telescope requires dedication, patience, and a keen eye for detail. In this comprehensive guide, we’ll explore five essential tips to help you elevate your astrophotography skills and capture stunning images of the cosmos.
Tip 1: Know Your Equipment best telescope for astrophotography
Embarking on the best telescope for astrophotography journey is an exciting venture into the limitless expanse of the universe, but before you dive into capturing the wonders of the night sky, it’s important to familiarize yourself with the tools of your trade.
Understanding the capabilities and limitations of your telescope and camera equipment will serve as the foundation of your astrophotography efforts, empowering you to make informed decisions and optimize your setup for stellar results.
First and foremost, let’s take a deep dive into your telescope – the primary instrument that will reveal the secrets of the universe. Familiarizing yourself with the specifications of your telescope is key to unlocking its full potential. Start by studying its focal length, which determines the magnification and field of view of your images.
A longer focal length enables you to zoom in on distant astronomical objects, while a shorter focal length provides a wider perspective of the night sky. Understanding the focal length of your telescope will help you frame your shots and choose appropriate targets for the best telescope for astrophotography.
Next, consider your telescope’s aperture size – the diameter of its primary lens or mirror. The size of the aperture affects the amount of light your telescope collects, which directly affects the brightness and clarity of your images.
the best telescope for astrophotography with larger apertures collects more light, allowing you to capture fainter objects and reveal intricate details in deep-sky phenomena like galaxies and nebulae. In contrast, telescopes with smaller apertures may be better suited for planetary photography, where high magnification is prioritized over light-gathering ability.
Tracking capabilities are another important aspect of your telescope to understand. Many astrophotography enthusiasts use equatorial mounts equipped with motorized tracking systems to compensate for the Earth’s rotation.
These mounts automatically synchronize your telescope with the apparent movement of celestial objects, allowing long-exposure photography without marks or star trails. Familiarize yourself with your mount’s tracking modes, tracking rates, and alignment procedures to ensure accurate tracking during your imaging sessions.
Now, let’s turn our attention to your camera equipment – the indispensable tool for capturing the beauty of the night sky. Whether you’re using a dedicated astrophotography camera or a DSLR/mirrorless camera, it’s essential to understand your camera settings to achieve optimal results. Start by familiarizing yourself with basic settings like ISO, aperture, and exposure time.
ISO determines the sensitivity of your camera’s sensor to light, higher ISO values increase sensitivity but also introduce noise into your images. Experiment with different ISO settings to strike a balance between image brightness and noise levels, aiming for the lowest ISO value that adequately illuminates your subject.
Aperture, measured in f-stops, controls the size of the opening in your camera’s lens. A wider aperture allows more light to enter your camera, resulting in shorter exposure times and brighter images. However, keep depth of field considerations in mind, as wider apertures result in shallower focus areas. Balance the aperture size with the desired depth of field for your best telescope for astrophotography subjects.
Exposure time, or shutter speed, determines the duration of light exposure during each shot. Longer exposure times capture more light and reveal lighter details in celestial objects, but can also result in motion blur or star trailing if not carefully managed. Experiment with exposure times to find the optimal balance between image brightness and tracking accuracy, considering factors such as focal length and tracking capabilities.
In short, being thoroughly familiar with your telescope and camera equipment lays the foundation for successful astrophotography endeavors. Take the time to understand your telescope’s focal length, aperture size, and tracking capabilities, as well as your camera’s ISO, aperture, and exposure time settings. Armed with this knowledge, you will be well prepared to begin your best telescope for astrophotography journey and capture breathtaking photos of the night sky.
Tip 2: Perfect Your Polar Alignment
Polar alignment stands as a vital pillar in the field of the best telescope for astrophotography, serving as the cornerstone for accuracy in capturing the celestial wonders that grace the night sky. This important step ensures that your telescope’s mount is carefully oriented with the celestial pole, allowing accurate tracking of celestial objects as the Earth rotates.
The importance of polar alignment lies in its ability to reduce tracking errors and reduce the occurrence of star trails – those unwanted streaks that can spoil the beauty of long-exposure astrophotography shots. By aligning your telescope with precision, you lay the foundation for capturing stunning, crystal-clear images of the universe that inspire awe and wonder.
Achieving proper polar alignment involves a variety of methods, each offering its advantages and nuances. A common approach is the use of polar alignment scopes, which are specially designed accessories that help align your telescope’s mount with the celestial pole.
These scopes usually have reticles or alignment marks that allow you to center a reference star in the field of view, ensuring precise alignment. While polar alignment scopes provide a straightforward and user-friendly method for alignment, they may require periodic calibration and adjustment to maintain accuracy.
Another technique for polar alignment is drift alignment, a manual method that involves tracking the apparent motion of the stars over time to measure the accuracy of your telescope’s alignment. By carefully observing how the stars move in your telescope’s field of view,
you can make precise adjustments to your mount’s alignment screw until the stars remain stationary. While drift alignment requires patience and practice, it provides a high level of accuracy and can be especially effective for the long-exposure best telescope for astrophotography sessions.
In recent years, software-assisted alignment tools have emerged as a popular alternative to polar alignment. These tools leverage the power of technology to streamline the alignment process, providing real-time feedback and guidance to help you achieve precise alignment quickly and efficiently.
Software packages such as SharpCap and PHD2 provide features such as polar alignment assistance routines, guide feedback, and polar alignment error correction, making them invaluable companions for astrophotographers seeking optimal alignment accuracy.
No matter which method you choose, the key to successful polar alignment lies in careful attention to detail and a patient, methodical approach. Take the time to become familiar with your chosen alignment method and don’t hesitate to seek guidance from experienced astrophotographers or online resources.
Remember that achieving accurate polar alignment is a journey of constant refinement and adjustment, and do not be discouraged by setbacks or challenges along the way.
Finally, polar alignment is an essential step in the astrophotographer’s toolkit, ensuring that your telescope is accurately oriented with the celestial pole for optimal tracking and image quality. Whether you select traditional polar alignment scopes, manual drift alignment techniques,
or state-of-the-art software-assisted tools, the importance of accurate alignment cannot be underestimated. By mastering the art of polar alignment, you pave the way to capturing breathtaking images of the universe that inspire wonder and ignite the imagination.
Tip 3: Experiment with Exposure Settings
Experimenting with exposure settings is a fundamental aspect of the best telescope for astrophotography, allowing photographers to tailor their camera settings to suit the unique conditions of the night sky and the celestial objects they wish to capture. By fine-tuning exposure settings such as ISO,
exposure time, and aperture, the best telescope for astrophotography can achieve optimal image quality and reveal the intricate details of the universe in their photographs.
ISO, or International Organization for Standardization, measures the sensitivity of your camera’s sensor to light. In astrophotography, it is important to select an appropriate ISO setting to balance the brightness and noise level of the image. Starting with a lower ISO setting, such as ISO 100 or 200, helps reduce noise in your images, resulting in clearer and more detailed photos.
As you become more familiar with your camera and the conditions of your shooting environment, you can gradually increase the ISO setting to increase the brightness of your images while carefully monitoring noise levels.
Exposure time, also known as shutter speed, determines the duration of light exposure during each shot. In astrophotography, long exposure times are often used to capture blurry details in deep-sky objects such as galaxies, nebulae, and star clusters.
By increasing exposure times, astrophotographers can collect more light from distant celestial objects, revealing their microscopic features and structures. However, longer exposures increase the risk of introducing motion blur or star trailing, especially when photographing celestial objects that appear to be moving across the night sky.
Experimenting with exposure time allows astrophotographers to strike a balance between image brightness and tracking accuracy, ensuring sharp and well-defined photographs.
The aperture setting, measured in f-stops, controls the size of the opening in your camera’s lens. In astrophotography, the aperture setting plays an important role in determining the amount of light that enters your camera sensor. A wider aperture, represented by a lower f-stop value (for example, f/2.8), allows more light to reach your camera sensor, resulting in brighter images of celestial objects.
This can be especially beneficial when photographing blurry or distant objects in the night sky, as it helps increase the visibility of these subjects. However, astrophotographers should be mindful of the trade-off between aperture size and depth of field. A wider aperture results in a shallow depth of field,
meaning only a limited range of distance will appear sharply focused in the image. This can be beneficial for isolating a specific celestial object or feature but may require careful consideration when composing your shot.
In short, experimenting with exposure settings is a key aspect of the best telescope for astrophotography, allowing photographers to optimize their camera settings to capture stunning images of the night sky. By adjusting ISO, exposure time, and aperture settings, astrophotographers can achieve optimal image quality and reveal the complex beauty of the universe in their photographs.
Through practice, observation, and creative exploration, photographers can refine their exposure techniques and open up new possibilities in the best telescope for astrophotography.
Tip 4: Embrace Post-Processing
Post-processing serves as a vital component of the astrophotographer’s workflow, offering a pathway to elevate raw image captures into stunning representations of the cosmos. This crucial step allows photographers to refine and enhance their images after they’ve been captured, unlocking hidden details and maximizing the visual impact of their best telescope for astrophotography work.
Through a combination of advanced techniques such as stacking, stretching, and noise reduction, astrophotographers can transform their raw image data into breathtaking portrayals of celestial objects and phenomena.
Stacking is a foundational technique in the best telescope for astrophotography post-processing, offering a powerful method for reducing noise and enhancing image quality. By combining multiple exposures of the same celestial object, stacking effectively averages out random noise and improves signal-to-noise ratio, resulting in cleaner, more detailed images.
This technique is particularly beneficial for capturing faint deep-sky objects such as galaxies, star clusters, and nebulae, where long exposure times are often required to reveal subtle details.
Stretching represents another essential post-processing technique in the best telescope for astrophotography, enabling photographers to adjust the levels and curves of their images to enhance contrast and reveal hidden details. By carefully manipulating the brightness and contrast of different tonal regions within the image,
astrophotographers can bring out intricate structures and subtle features that may be obscured in the original capture. Stretching allows photographers to tailor the visual appearance of their images to their artistic vision, enhancing the overall impact and clarity of their best telescope for astrophotography work.
Noise reduction techniques play a crucial role in refining the quality of the best telescope for astrophotography images, helping to minimize the presence of unwanted noise and artifacts that can detract from the overall visual appeal. Astrophotography images are often plagued by various forms of noise, including thermal noise, read noise, and amp glow, which can manifest as graininess or color variations in the final image.
Through the application of noise reduction algorithms and software tools, astrophotographers can effectively suppress noise while preserving important image details, resulting in smoother, more visually appealing final images.
In conclusion, post-processing is an indispensable step in the astrophotographer’s workflow, offering a suite of powerful techniques for enhancing and refining raw image captures. Through the careful application of techniques such as stacking, stretching, and noise reduction, astrophotographers can unlock the full potential of their image data,
revealing hidden details and maximizing the visual impact of their astrophotography work. With patience, practice, and a keen eye for detail, astrophotographers can transform their raw image captures into breathtaking representations of the cosmos that inspire wonder and awe in all who behold them.
Tip 5: Practice Patience and Persistence
Astrophotography stands as a testament to the captivating beauty of the universe, offering a glimpse of the awe-inspiring wonders that grace the night sky. Still, the quest is not without challenges. It demands patience, perseverance, and unwavering commitment to overcome the obstacles that come in the way.
Failures and less-than-perfect images are an inevitable part of the journey, but they shouldn’t stop aspiring astrophotographers from pursuing their passion. Instead, these challenges should be accepted as valuable learning experiences – opportunities to grow, develop, and refine one’s skills.
From novice to expert, every astrophotographer faces obstacles in his quest to capture the majesty of the universe. Whether it’s battling light pollution, equipment failure, or unpredictable weather conditions, each obstacle provides a chance to adapt, innovate, and persevere. Rather than viewing setbacks as setbacks, astrophotographers should approach them with a mindset of resilience and determination.
Experimentation in adverse circumstances becomes a powerful tool for development. Astrophotographers are encouraged to explore new techniques, experiment with different camera settings, and push the limits of their equipment. By stepping out of their comfort zone and embracing innovation, photographers can uncover new perspectives and creative approaches to capturing the universe in all its glory.
Exploration is also important to advance the field of the best telescope for astrophotography. Venturing beyond familiar topics and uncharted territory opens up a world of possibilities. Whether it’s photographing distant galaxies, complex star clusters, or elusive nebulae, each new subject presents its own set of challenges and rewards. By venturing into unknown regions of the night sky, astrophotographers can expand their horizons and deepen their understanding of the universe.
Above all, dedication and persistence are the cornerstones of success in the best telescope for astrophotography. Despite inevitable setbacks and disappointments, astrophotographers must persevere in pursuing excellence. With each passing night spent under the stars, with each click of the shutter, astrophotographers get closer to realizing their vision and capturing the essence of the universe in all its glory.
In the end, the best telescope for astrophotography is a challenging but extremely rewarding pursuit that demands patience, perseverance, and a willingness to accept failure as a stepping stone to success. By seeing setbacks as opportunities for growth, experimenting with different techniques,
exploring new subjects, and maintaining a steadfast dedication to their craft, astrophotographers can unlock the full potential of their creativity and capture images that create surprise and awe in everyone who sees them.
In conclusion, astrophotography with your telescope is an exhilarating journey into the unknown, allowing you to capture the beauty of the universe in ways that words alone cannot describe. By following these five essential tips – knowing your equipment, perfecting your polar alignment, experimenting with exposure settings,
embracing post-processing, and practicing patience and persistence – you’ll be well on your way to capturing breathtaking images of the cosmos that will leave a lasting impression on all who see them. So grab your telescope, set up your camera, and let the wonders of the universe unfold before your eyes. Happy astrophotography!